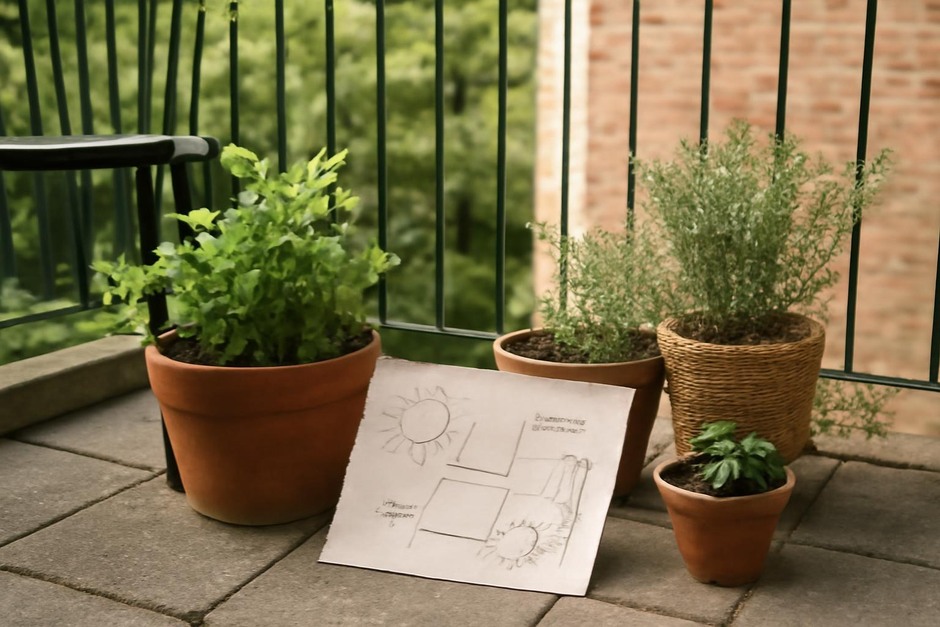
Map Your Balcony’s Microclimates: Five Small Experiments to Learn Where Plants Thrive
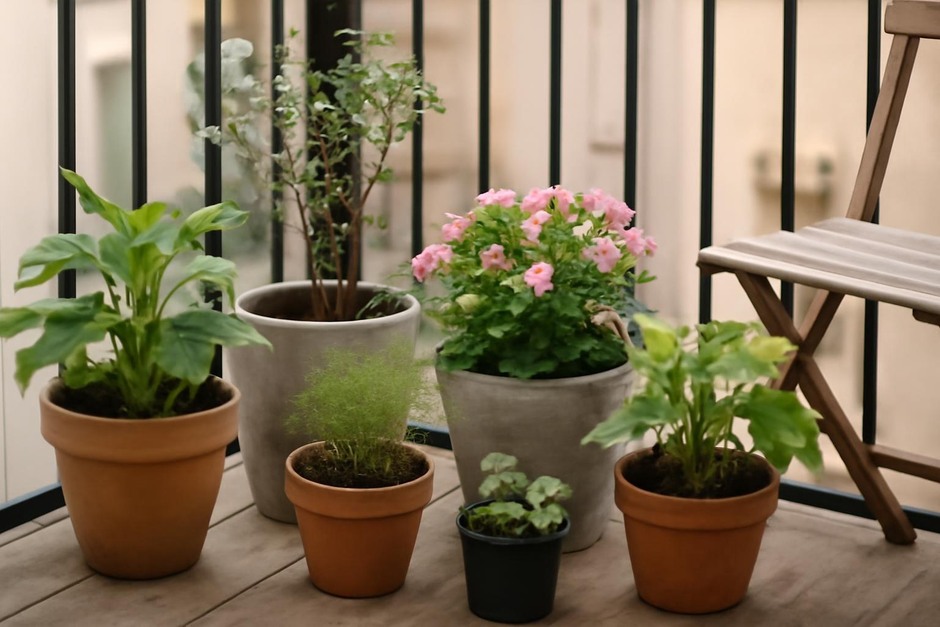
People have cultivated plants in containers on rooftops and window ledges for millennia. Romans hauled tubs of olive and citrus to sunny terraces; Victorian households kept herbs in windowboxes for cooking and scent. Those gardeners all learned the same practical truth: a single balcony can hide many tiny climates. A spot that bakes in afternoon sun, a tucked corner that stays cool and damp, and a railing pounded by wind all sit within a few square meters.
The following five small experiments are designed to be inexpensive and gradual. Each builds on the last so that, by the end, you will have a simple microclimate map and a reliable habit for choosing placement, soil, and watering rhythms for container plants.
Experiment 1 — Log Sunlight: a 3-day light diary
Why: Knowing when and how long direct sun falls on each spot is the first step to choosing plants.
- Tools: pencil, small notebook or smartphone, a piece of white cardboard (about the size of a postcard).
- Method: At roughly the same time each hour during daylight for three days, place the cardboard where your pot would sit and note whether it is in direct sun, dappled light, or full shade. Sketch a simple plan of your balcony and mark each spot with the observations and time ranges.
- Result: Write total daily hours of direct sun for each spot. This gives a quick classification: full sun (6+ hours), part sun (3–6), or shade (under 3).
Experiment 2 — Feel the Heat: afternoon temperature checks
Why: Two spots with the same sun hours can differ in heat if surfaces nearby reflect or store warmth.
- Tools: an inexpensive digital thermometer (or a room thermometer) and your notebook.
- Method: On a warm afternoon, place the thermometer’s probe at pot height in three different spots for ten minutes each and record the temperature. Repeat on a cooler day for comparison.
- Result: Identify heat sinks (walls, metal railings) and heat islands (areas that stay 2–5°C warmer). Plants that dislike midday heat will do better away from those islands.
Experiment 3 — Watch the Wind: ribbon streamers and evaporation jars
Why: Wind dries soil and can damage delicate foliage. This experiment measures both wind exposure and its drying effect.
- Tools: two identical lightweight ribbons or strips of plastic; two identical small, open jars or shallow dishes; water; a marker.
- Method: Tie a ribbon at pot height in each spot you want to test and watch for a few minutes on different days to estimate average fluttering (quiet, breezy, windy). Simultaneously, fill two identical dishes with a measured amount of water, place each dish in two different spots, and mark the starting level. Check the level after 24 hours and again every day for three days.
- Result: Compare average ribbon movement and water loss. Faster evaporation plus steady fluttering indicates a windy, drying microclimate — ideal for drought-tolerant plants but not for moisture-loving herbs.
Experiment 4 — Soil Drying Trial: one soil, several spots
Why: Different spots will dry at different rates even with the same pot and soil. This helps you plan watering frequency.
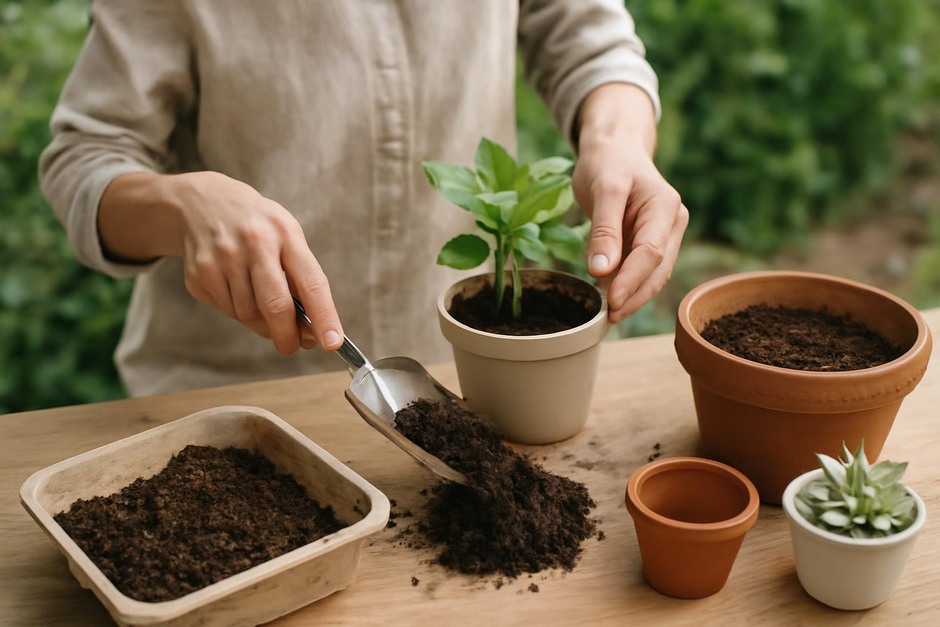
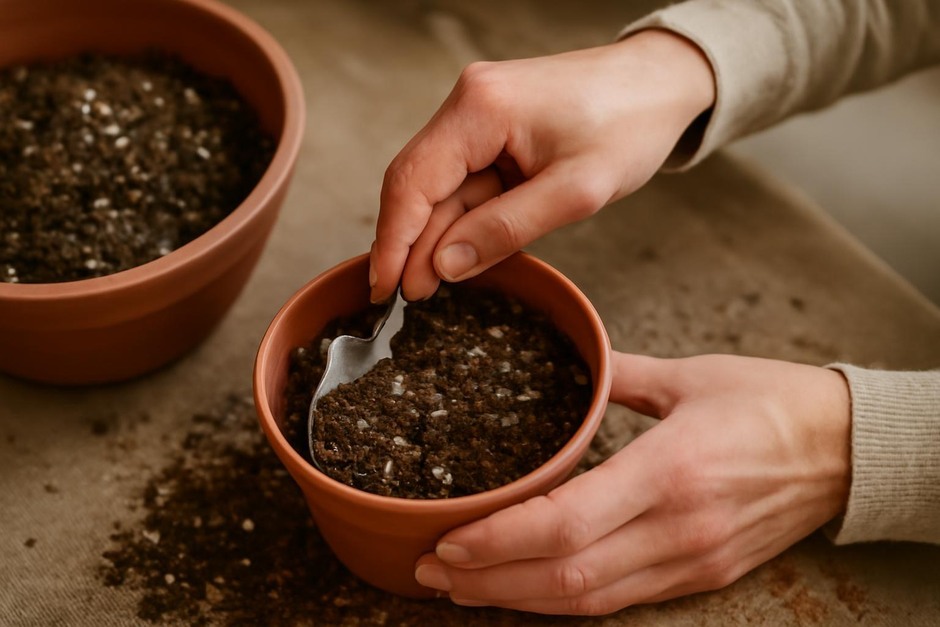
- Tools: three identical small pots and your usual potting mix, a kitchen scale (optional), and a finger for the fingertip test.
- Method: Fill pots with the same soil, water each to the same level, and place them in three representative spots. Each day at the same time, use the fingertip method (press 2–3cm into the soil to judge moisture) and, if you have a scale, weigh each pot to track mass loss from evaporation. Record how many days until soil feels dry to the touch.
- Result: You’ll have a clear sense of watering intervals required for each microclimate: daily, every few days, or weekly.
Experiment 5 — Plant a Test Pair: trial plantings for real feedback
Why: Small plants are the most reliable sensors. This final experiment converts the map into living data.
- Tools: six small seedlings or cuttings of two species with different preferences (for example, a sun-lover and a shade-tolerant herb), small pots, and your map.
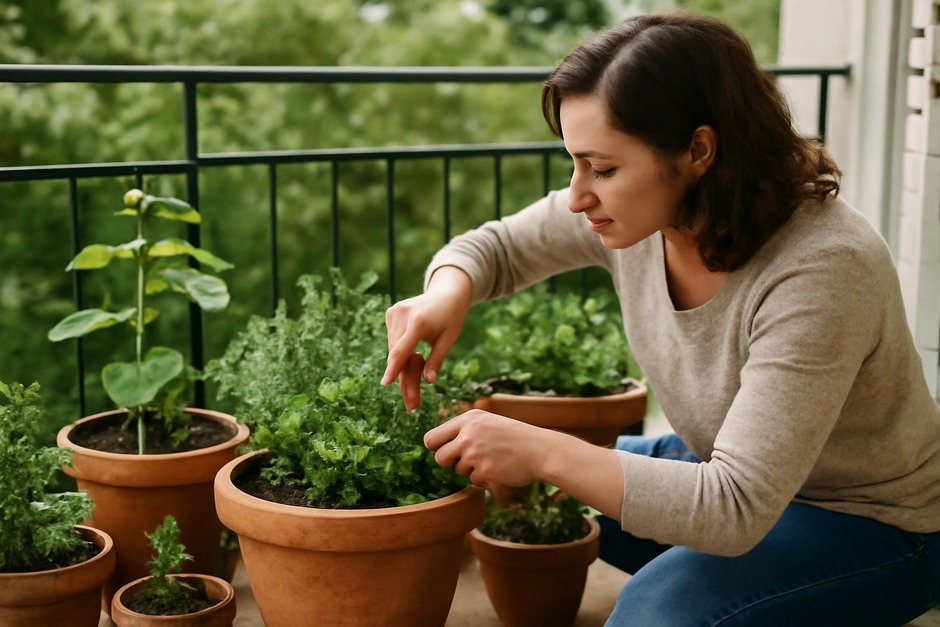
- Method: Plant one of each species in pairs and place each pair in different mapped spots. Keep care consistent and observe for two to four weeks: note growth rate, leaf color, and how quickly soil dries.
- Result: You’ll see which combinations of light, heat, and wind suit each plant. Use those observations to refine plant placement and to choose soil mixes or shade cloth if needed.
After these experiments, draw a simple map labeling each spot with sun hours, typical afternoon temperature, wind-drying tendency, and likely watering interval. Keep the map and your notes near your gardening tools; microclimates shift with the season, and a quick re-check before planting each season will save mistakes. Historically, gardeners learned their sites by watching over months; these short, focused experiments compress that learning into a practical, repeatable routine for modern container gardeners.
Final tips: observe under different weather and seasonal angles, repeat the evaporation and soil-drying tests when temperatures change, and start small—move one plant at a time until you trust your map. Over time, this habit will turn an oddly shifting balcony into a dependable mosaic of thriving container gardens.